
Thursday, February 2, 2012

Wednesday, May 4, 2011
Finally Finished!

More details on my blog.
Sunday, January 9, 2011
January Blocks
Wow, January 9th already, Happy New Year Bees Knees! Oh how I ummed and aaaarrrr'd over what block to use, which fabrics to use, but I did come to a decision in December and was happily cutting and doing trial blocks just to be sure. So without further ado, I present to you the Hourglass block. There are great examples of inspiration here (thanks to Red Pepper Quilts) and here (courtesy of Sew Mama Sew).


It all started with these fabrics ... Then I finally decided on a sort of pink lemonade colour, with a dash of lime!

I've got a package of four white on white squares and four patterned fabric squares heading their way across the sea to you all as of the morning.

They vary in designer, a little Erin McMorris, Amy Butler and some Kaffe Fassett just for variety!
So here's the request, I know there is plenty of tutorials out there of how to do Hourglass blocks, I thought I'd show you how I've done mine. But please feel free to use whatever technique you feel comfortable with.
All of your squares are cut to 7 3/4", and all they need is probably a quick press (no steam, they've not been washed). I pressed a white and a patterned square right sides together, then drew a line diagonally across on the white square (just a plain and simple pencil)...

I then sewed 1/4" down each side of the pencil line ...

it should then look like this ...

I then cut right down the middle between the two stitched lines on the pencil line ...

Pressed my seams to the patterned fabric...

to create two half square triangles.

I placed on HST right sides together on top of the other so that each side was a pattern and white triangle touching each other...

Butting up the seams so that they sit snugly together...
I pressed them like this just to hold them together better...
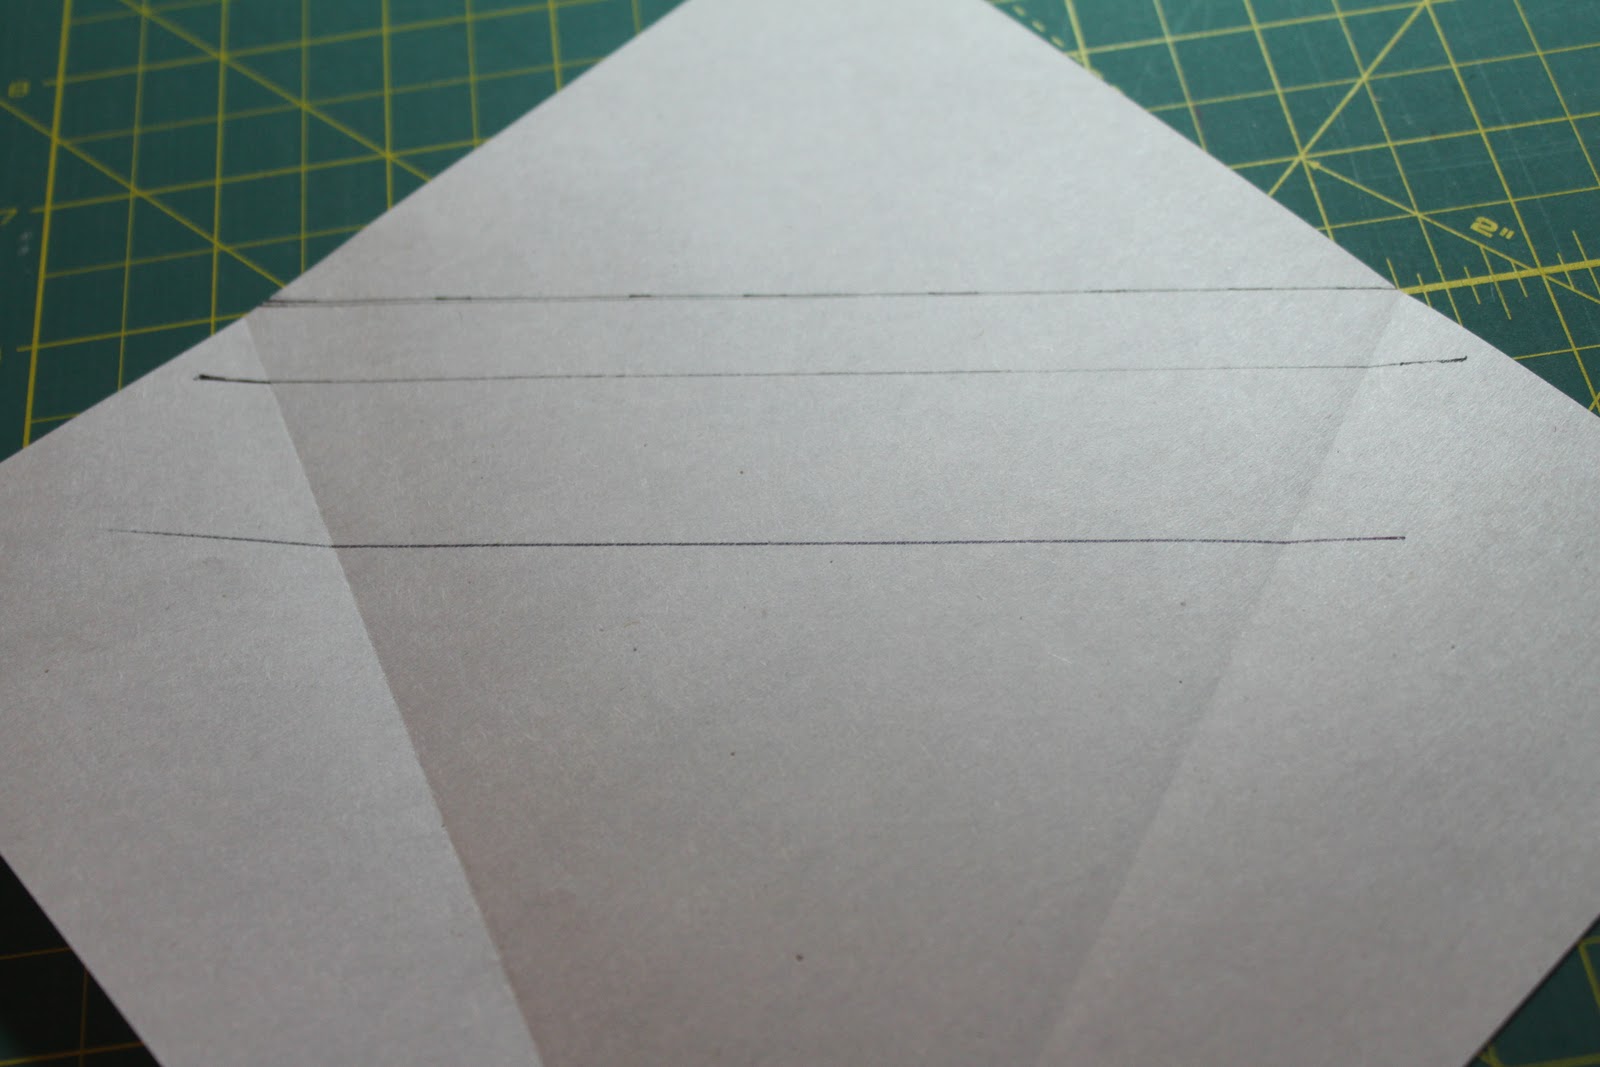
And took my ruler and pencil and drew a line diagonally across the HST like this ...

once again, I sewed 1/4" down each side of the pencil line..

I cut down the middle of the two sewn lines of stitching right on the pencil line..

And pressed the seams to one side.

One pair of square will yield you two Quarter Square Triangle blocks ...

I trimmed each block to 6 1/2", using the ruler to ensure it is squared from the centre...

Rotated the block and trimmed the other side...

I repeated the process for the other 3 pairs of white and patterned fabrics to get 8 QST blocks...

I laid out my blocks so there are four different patterned QST blocks to make an Hourglass block

I joined them into pairs to sew them with 1/4" seam ...

and pressed the seams to the patterned fabrics...

to join the 2 sets of pairs together, I butted up the seams and secured with a pin ...

Sewed them together and pressed the seam to one side....

And now you have one 12 1/2" Hourglass block. Repeat to make another block, and I'd love you to try to put the colours in a different order so the blocks are different :) You all have a different selection of fabrics, so hopefully no two blocks will be exactly the same.
A long post, I know, thanks for sticking with me!
Have fun! Happy Quilting!
Trudi
November in January!
Today I finally set myself to continue to work on Bees Knees Blocks. And I was amazed at just how quickly Sherri's November block went together. (Though I confess I had sewn all the HST's together some days ago!)


I love it! Thanks Sherri, I saved my scraps and have a small plan for them as a reminder of how wonderful these were to work with!
Tuesday, November 9, 2010
Winter Migration!
As the Canadian Geese leave for the winter all around me, I am pleased to say my block for Leanne are migrating back to Canada too!


These were such fun fabrics to work with, and I'm thrilled with how the blocks turned out, I hope they have a safe journey home and you love them too Leanne!
Monday, October 18, 2010
Blocks for Lynette
 Lynette's October blocks! For a slightly longer post see my blog.
  I love the way those swimming fish turned out! When I was working on these blocks I kept asking myself why I didn't buy any of the Lantern Bloom fabric when it came out? What was I thinking?!
I hope you like these, Lynette.
Thursday, September 23, 2010
Jen's stacked blocks
Finally got these ready to post out to you Jen, and before Halloween!


Hope you like these Heather Bailey fabrics, a little Amy Butler thrown in along with a sprinkling of Wildwood by Eric McMorris. About the brightest I had!
I'm working on the next batch too!
Monday, August 30, 2010
Cobwebs
This is my block for September. I found it in a book I have and it is similar to the Spider web block.This will be paper pieced. Four 6.5 inch blocks to make one 12.5 inch block. I would like each of you to make two of these so I will be sending 8 already printed. I hope that I can explain all of this so that you can understand it. I have photos too.

After trimming the paper down to within 1/8th of an inch all the way around I folded the paper on the angles so it was easier to tell where the wedge is. You will sew the strips to this part first then put the side pieces on.Because this paper is not easy to see thorough I sewed my strips on the back and pretended that I was not paper piecing. I have drawn a mark on the back so that I would be able to get the strip straight. Then so that I would have that randomness, not sure that is a word, placement of the strips I drew a line under it and varied the measurement of this line on each block so that I could vary the rest of the strips. If that makes sense. In other words, I didn't want to start them all in the same spot. You need to start at that line, marked with an * on the paper and place your fabric below that one then you can start filling in the top and the bottom part of the wedge.

I started to put 7 pieces of fabric for each block in the packets then I did a couple more blocks and thought I should add a few more pieces of fabric. I did most of mine with 8 pieces of fabric. One had 7 and a couple of them had more but the 8 is a good amount to put in there so you can vary the widths of the strips. Please if anyone needs a little more fabric do not hesitate to email me and I will get some right out to you. I know that may be a pain but I just wasn't sure about all of this since this is my first Bee.
After you have the wedge filled with strips, not sure why I didn't take a photo of that. Place the side pieces on one at a time and sew the normal way you would paper piece, flip and sew. You can see that I pinned mine on the back far enough away from the seam line(because it was underneath) so it wouldn't wreck my machine when I stitched it. Please use a small stitch length. I used 1.5 on my machine. If you can't shorten your stitch length then use a bigger needle. The paper should tear off very easily using the smaller stitch length, better than the perforations on some of the bills we get in the mail. You do not need to tear the paper off. I will do that later. If it does tear off as a couple pieces of mine did don't worry about it.

Putting the blocks together after trimming them. I am thinking that seams open would be a good idea but I am not sure as I have not sewn 4 of them together yet. If your corners are a bit bigger like mine here then the seams pressed to one side should be fine. I know I should have but it just didn't happen yet. I was more concerned with getting this all written up and on here.
Well Blogger wasn't too helpful today with the placing of the photos so I hope you can all get the idea anyway.
If you have any questions please email me. Here is what the block will look like. I will be mailing the packets out on Wednesday. Thanks Ladies! You do not need to follow the lines for the middle section. Those are there just to let you know that the strips go there. That I had done for myself when I made the block up. The packets went out today 9/1/10.
After trimming the paper down to within 1/8th of an inch all the way around I folded the paper on the angles so it was easier to tell where the wedge is. You will sew the strips to this part first then put the side pieces on.Because this paper is not easy to see thorough I sewed my strips on the back and pretended that I was not paper piecing. I have drawn a mark on the back so that I would be able to get the strip straight. Then so that I would have that randomness, not sure that is a word, placement of the strips I drew a line under it and varied the measurement of this line on each block so that I could vary the rest of the strips. If that makes sense. In other words, I didn't want to start them all in the same spot. You need to start at that line, marked with an * on the paper and place your fabric below that one then you can start filling in the top and the bottom part of the wedge.

I started to put 7 pieces of fabric for each block in the packets then I did a couple more blocks and thought I should add a few more pieces of fabric. I did most of mine with 8 pieces of fabric. One had 7 and a couple of them had more but the 8 is a good amount to put in there so you can vary the widths of the strips. Please if anyone needs a little more fabric do not hesitate to email me and I will get some right out to you. I know that may be a pain but I just wasn't sure about all of this since this is my first Bee.
After you have the wedge filled with strips, not sure why I didn't take a photo of that. Place the side pieces on one at a time and sew the normal way you would paper piece, flip and sew. You can see that I pinned mine on the back far enough away from the seam line(because it was underneath) so it wouldn't wreck my machine when I stitched it. Please use a small stitch length. I used 1.5 on my machine. If you can't shorten your stitch length then use a bigger needle. The paper should tear off very easily using the smaller stitch length, better than the perforations on some of the bills we get in the mail. You do not need to tear the paper off. I will do that later. If it does tear off as a couple pieces of mine did don't worry about it.

Putting the blocks together after trimming them. I am thinking that seams open would be a good idea but I am not sure as I have not sewn 4 of them together yet. If your corners are a bit bigger like mine here then the seams pressed to one side should be fine. I know I should have but it just didn't happen yet. I was more concerned with getting this all written up and on here.
Well Blogger wasn't too helpful today with the placing of the photos so I hope you can all get the idea anyway.
If you have any questions please email me. Here is what the block will look like. I will be mailing the packets out on Wednesday. Thanks Ladies! You do not need to follow the lines for the middle section. Those are there just to let you know that the strips go there. That I had done for myself when I made the block up. The packets went out today 9/1/10.
 |
| Cobweb Block |
Saturday, August 28, 2010
August blocks for Leanne


Here are Leanne's blocks for August. I really enjoyed making these blocks and the fabric is gorgeous!
Wednesday, August 25, 2010
Blocks for Jen


I wrote more about these blocks and "randomness" on my blog.
Now, let's see if I can get Leanne's August blocks done in August!
Saturday, August 7, 2010
Leanne's Blocks

Monday, July 19, 2010
August Blocks

Ladies,
I decided to switch things up a little bit for August. Rather than have everyone make 1 type of block, I have picked a bunch of blocks and have given each of you 2 different blocks. Confused, yet?
Each of you will get white fabric and enough Garden Glam fabric to make 2 blocks. I didn't even look when I put the blocks in the envelopes so I can't tell you who got what.
The different blocks are:
- The Zig Zag
- Flying Geese
- String Block
- Hexagons
- Eight Pointed Star
- Stacked Block
- Trapezoids
- Stashbuster Block #2
Gosh, I hope I didn't forget any ...
I have included all the instructions for your blocks with your fabric so you know which ones to do but there are online tutorials for all of them - thanks to the Sometimes Crafter and Little Miss Shabby.
The only one I changed up a bit was the hexagons because I was worried about running out of fabric. Instead of 2" hexagons, I sent 1" hexagons templates and enough fabric to make up a 12.5" block. I did up all of my hexagons this weekend and thought that maybe the 1" is asking too much. If you get the hexes and want to do the smaller ones, go for it. But, if you don't want to go to the trouble of the 1" hexes, if you want, you can download 2" templates and make those. I am not sure if there is enough fabric for the 2" but make what you can and send them back and I can always make more and put them together.
Please keep your scraps if you want. I am using all the fabric from one line (Garden Glam) so please don't add your own.
Each block should end up being 12.5". I am going to sash the whole thing in white so that I can tell who did what.
Hopefully, I have made things clear but if not, just let me know.
Thanks so much!
L xo
Monday, July 12, 2010
Pac Man Lives!
I had a productive weekend and managed to get Jessica's Pac Man block pieced too. This was such fun, once I got my head round a plan and worked out the piecing sequence, it flew together almost as if Pac man was leading the way!

So Jessica, I'm on my way to the post office with your blocks too! Hopefully I will keep up the momentum and get Jenna's block started this afternoon.
Sunday, July 11, 2010
Finally - Tea Leaf blocks for Margaret!

Once I got into a rhythm with these they went together well. Margaret I am so sorry it has taken me this long. They will be in the mail to you first thing Monday morning as soon as the Post Office opens.
Monday, July 5, 2010
Jessica's block

Wednesday, June 30, 2010
Jenna's Blocks
 |
| Stacked Block for Jenna |
Thursday, June 24, 2010
June Block Tutorial


What I'm looking for is two 12.5-inch blocks in the "stacked {whatever}" pattern as seen on The Sometimes Crafter. There is a downloadable PDF that can be found at the post with complete instructions.
You will need various scraps from your stash that measure 1.5 inches by {whatever} length you choose.
I am providing the Kona cotton in Bone - everyone is getting 10 inches by the 44 inches, which should be more than enough for two blocks. Please keep the rest, I don't need it back.
To clarify a couple of things:
1. I am looking for all the colored scraps to be BRIGHT in nature, preferably designer cottons. The examples on The Sometimes Crafter's page is very similar to the look I am going for. Therefore, please stay away from dark colors like blacks and dark greys. The more BRIGHT color, the better.
2. I know the PDF calls for specific lengths of each colored strip in the block. I am not picky about this... please make the colored stripes as short or as long as you please... just keep in mind, they should look somewhat like the pictures of the blocks pictured (like stacked books).
3. There is no deadline for my blocks. Seeing as how I'm getting this out so late, when you get them done and mail them back, great! I am currently swamped with school, but I will have 3 weeks off in August, so if I manage to get all my blocks back by then, I'll plan on putting this bad girl together then! If not, heck, if I see them all by Halloween, Thanksgiving or even Christmas, I'll be happy.
I am really looking forward to seeing what each of you makes. I love nothing more than great scrappy-ness (having tons of scraps myself), so I will wait with anticipation of each of your blocks.
Thank you for being so understanding and for all the caring e-mails inquiring if I'd fallen off the face of the earth - I do so appreciate them! (Nursing school is tough as a single mom of two little kids!).
Jen (aka Jennadesigns)
P.S. Mamamianks, I've included a bunch of my own scraps for you to use as you mentioned that you hoped you had scraps I liked. Looking through your flickr pool, I didn't see a lot of bright, designer cottons, so I included a bunch. Please feel free to substitute from your own stash if you do have some, and please keep any you don't use of mine. Thanks!
Tuesday, June 15, 2010

Sunday, June 13, 2010
Blocks for Margaret
Margaret, I am SO sorry these blocks are so late!

I have never paper-pieced before, and I'm not going to lie, I was a bit scared. But, it was not so bad after all. The only problem I had was getting the paper off the back. It probably would have been easier if my stitches had been smaller, but my machine only has three stitch length settings, so I had to just do the best I could.
I am going to do my best to get started on the the maze block for Jessica.
Hope everyone is enjoying their summer!
Thursday, June 3, 2010
Another Maze
 Perhaps not the most creative maze here, but I messed up initially. The maze paper that was sent with my fabric was a 13x13 grid so I sketched my maze here, and promptly started sewing sections of printed fabrics accordingly. When I ran out of squares, I checked the blog instructions to find it is only supposed to be a 7x11, so the resulting maze was developed from the block sections I had already sewn!
Subscribe to:
Posts (Atom)
