Sunday, January 31, 2010

Dutchman's Puzzle

Hello everyone! Hope winter is treating you well, wherever you are. We've had ice and snow here in Oklahoma, so I've been trapped in my apartment all weekend. Everything is ready to be mailed tomorrow, I promise! My sweet hubby is going to mail them for me. When I showed him the stack of mailers I need him to take he said, "You need me to mail all those??" Hehe :)

So, the block.
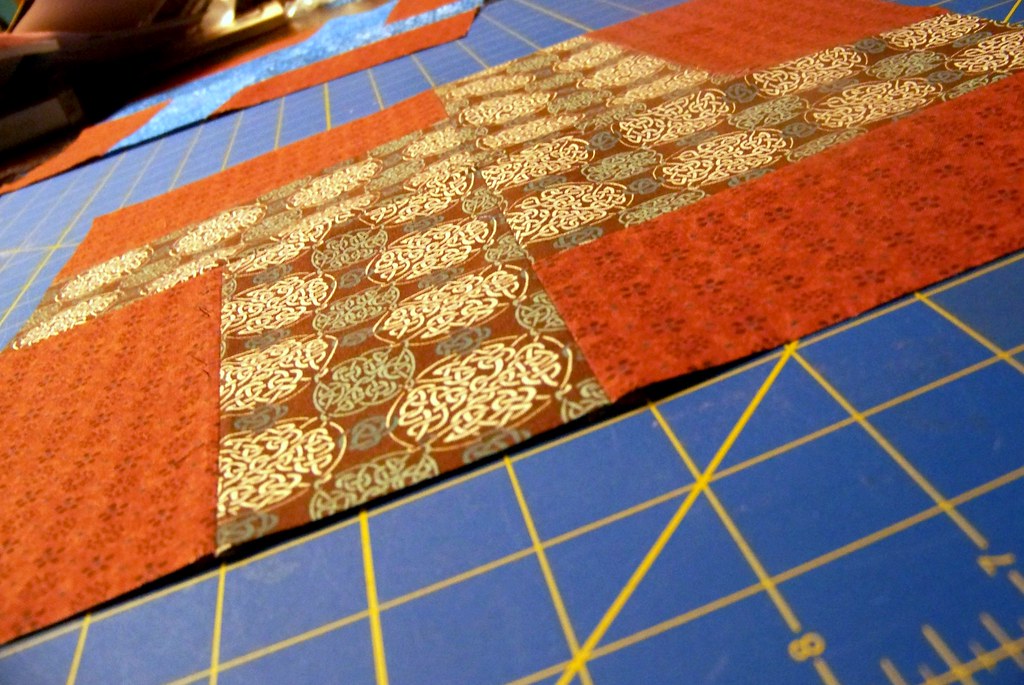
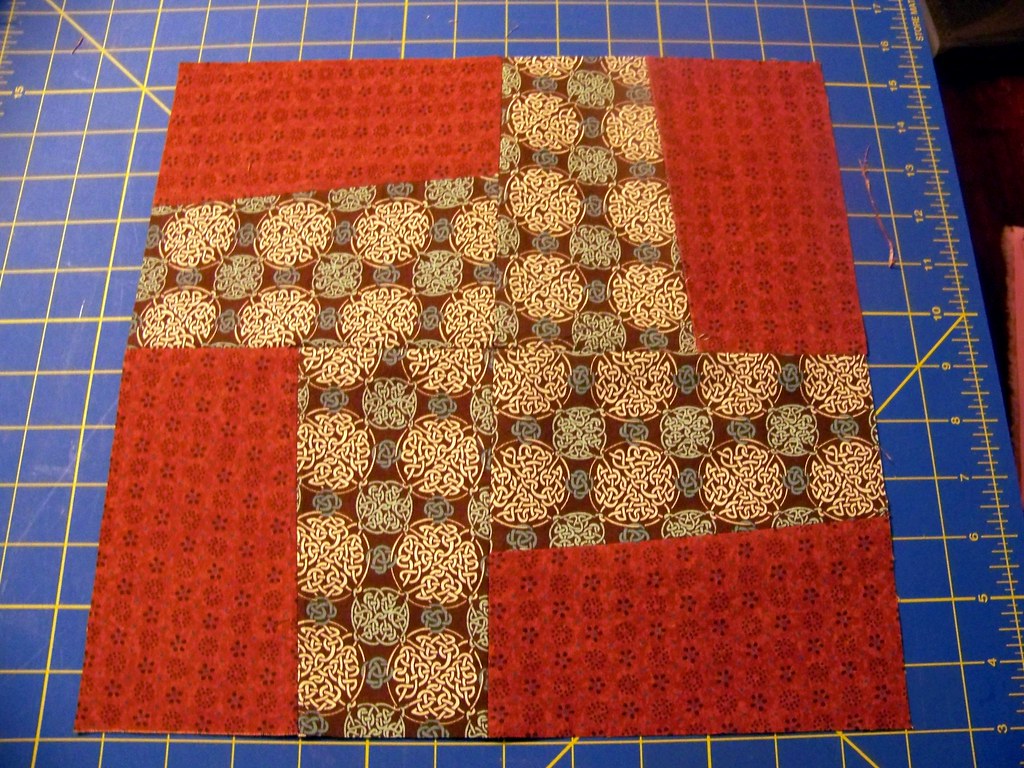
This is the tutorial I used. I found that these blocks go together rather quickly, and I only had to stress a little about everything lining up correctly. :) Here's my test block:
(Sidenote: after I cut up all my fabric for you all, these were the only four colors I had left. However, I would prefer if each block had more than four colors in it.)

So, I guess that's it. Finished block size 12-1/2" x 12-1/2" pretty please. If anyone wants to make two blocks, it would be much appreciated. No pressure, though. :)

-claire

Wednesday, January 27, 2010

Pinwheeeeels!

How is everyone's winter going? We're expected to get some ice here in Oklahoma, so I'm going to do my best to get these to the post office tomorrow morning before the madness starts and the roads shut down. Actually, I'm rather looking forward to being stuck inside my apartment all weekend and spending time with my hubby / doing some sewing. :)


P.S. Jessica, you're not alone - I had trouble getting mine to be 12.5" as well, even though I was super careful.

Have a great weekend everyone!
-Claire

Sunday, January 24, 2010

January Pinwheels for Tracy

quilt blocks

Here they are!

Tracy's wonky pinwheel block 1

Tracy's wonky pinwheel block 2

Tracy, I was really careful, but they're a hair under 12.5"--just so you know when you're seaming.  No matter how hard I try, my blocks always end up a little small!  Suggestions, anyone?

Tracy's Blocks


Here are my blocks for Tracy. I thought it was a fun, easy block.
I can't wait to see what Claire has up for February and then I am next in March. The wheels are turning, but they haven't stopped yet.

Monday, January 11, 2010

Pinwheels for Tracy

Here are my two blocks for Tracy. I am really loving the blue circle fabric. I am going to go to the post office tomorrow and mail them back to you. I hope they look good to you. I must admit that I was extremely nervous about working with fabric for someone else but I think these turned out fine. I made a test block first and then I just went along slowly, very slowly.So that I wouldn't make any mistakes.

I think it took me longer to get this post ready than it did to make the blocks. Sometimes blogger and I don't seem to get along too well. Also do we have a logo or button to put on our blogs for this block party?

Sunday, January 10, 2010

Jan Blocks

Tracy - Here are my blocks for you! I'll get them out to you soon! Sorry about the crazy color variation in my pics....I think flash was in one and not the other!


Monday, January 4, 2010

Wonky Pinwheel

Hi Ladies,

Here it is - the material is all cut, templates are made, envelopes addressed
now I just have to mail them. I will be doing that tomorrow afternoon.


I hadn't made these squares before, I just merely sketched and worked out the yardage on paper. I wanted to make them before I sent them so I could address any issues that cropped up.

Each of you will receive 8 - 7" squares of fabric.
The break down is:
4- 7" squares of the rust with the blue center flowers.( You can see this material below.) This material will be the outer part of the pinwheel.
2- 7" squares of coordinating fabric for pinwheel #1
2-7' squares of a second coordination fabric for pinwheel #2

This picture (above) shows the 8 fabrics stacked and cut using the template. I simply lined up my clear ruler on the edge of the template and cut.

The picture below shows the cut fabric separated into the two pinwheels. You can see the rust colored fabric in each stack that will be used on outside of the pinwheel as well as the 2 coordinated fabrics for the pinwheel itself.

At this point refer to Allie's great tutorial for piecing and sewing(thanks, Allie!).
But make sure you finish reading this post first so you know the squaring and finishing measurements.
I have to admit that I had to get the seam ripper out after this photo as I realized I had sewn the straight edges together on one of the squares rather than the cut edges.

Once you have the pairs sewn together , you will need to stop and square up
each of the 4 parts of the pinwheel. Square them to 6 1/2"

Once you sew the 4 parts together, you will have a 12 1/2" wonky pinwheel.


And a second one. Ta-dah!

These were so much fun and quick to make. I'm already thinking of the next one.